
Left rectangle ads redesigned


Robert Ripps book

History of Tribeca Buildings

Tribeca Treats’ Devil’s Food Cake and Chocolate Frosting
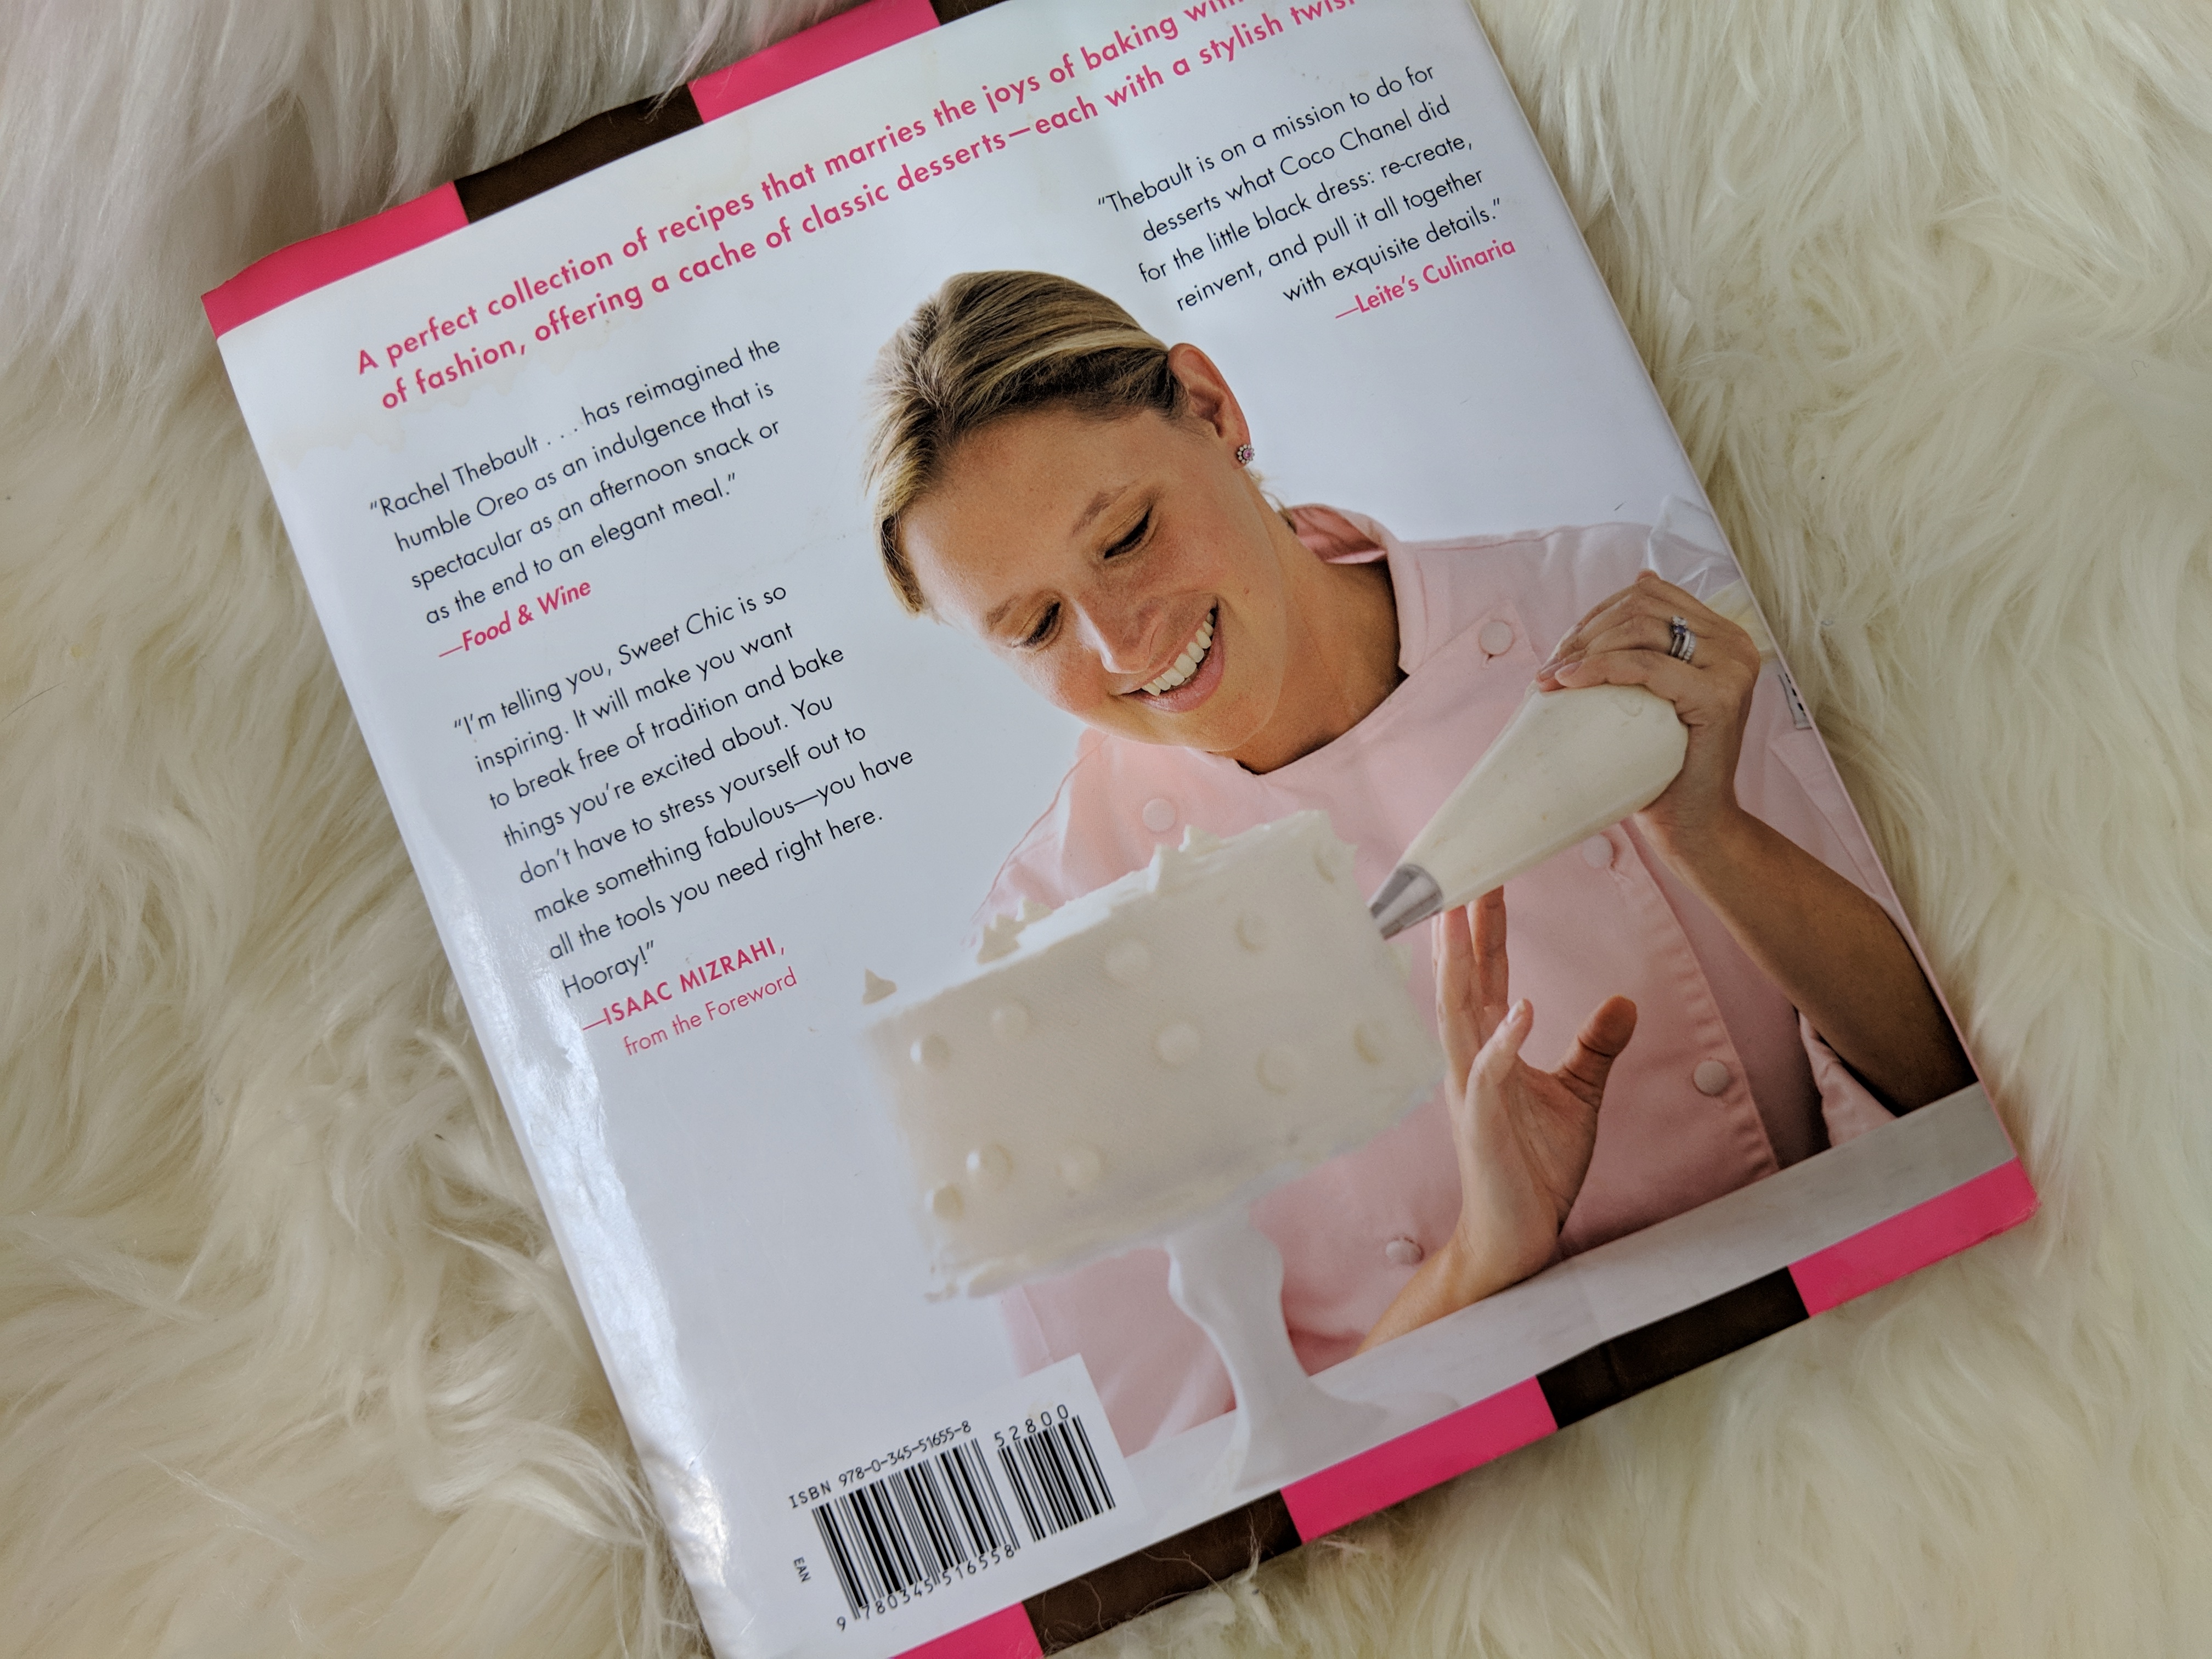
From “Sweet Chic: Stylish Treats to Dress Up for Any Occasion”
by Rachel Schifter Thebault of Tribeca Treats
To buy a copy, email Rachel at rachel@tribecatreats.com
Devil’s Food Cake (The Little Black Dress)
Makes one 3-layer 8-inch cake, one 2-layer 9-inch cake, or about 3 dozen cupcakes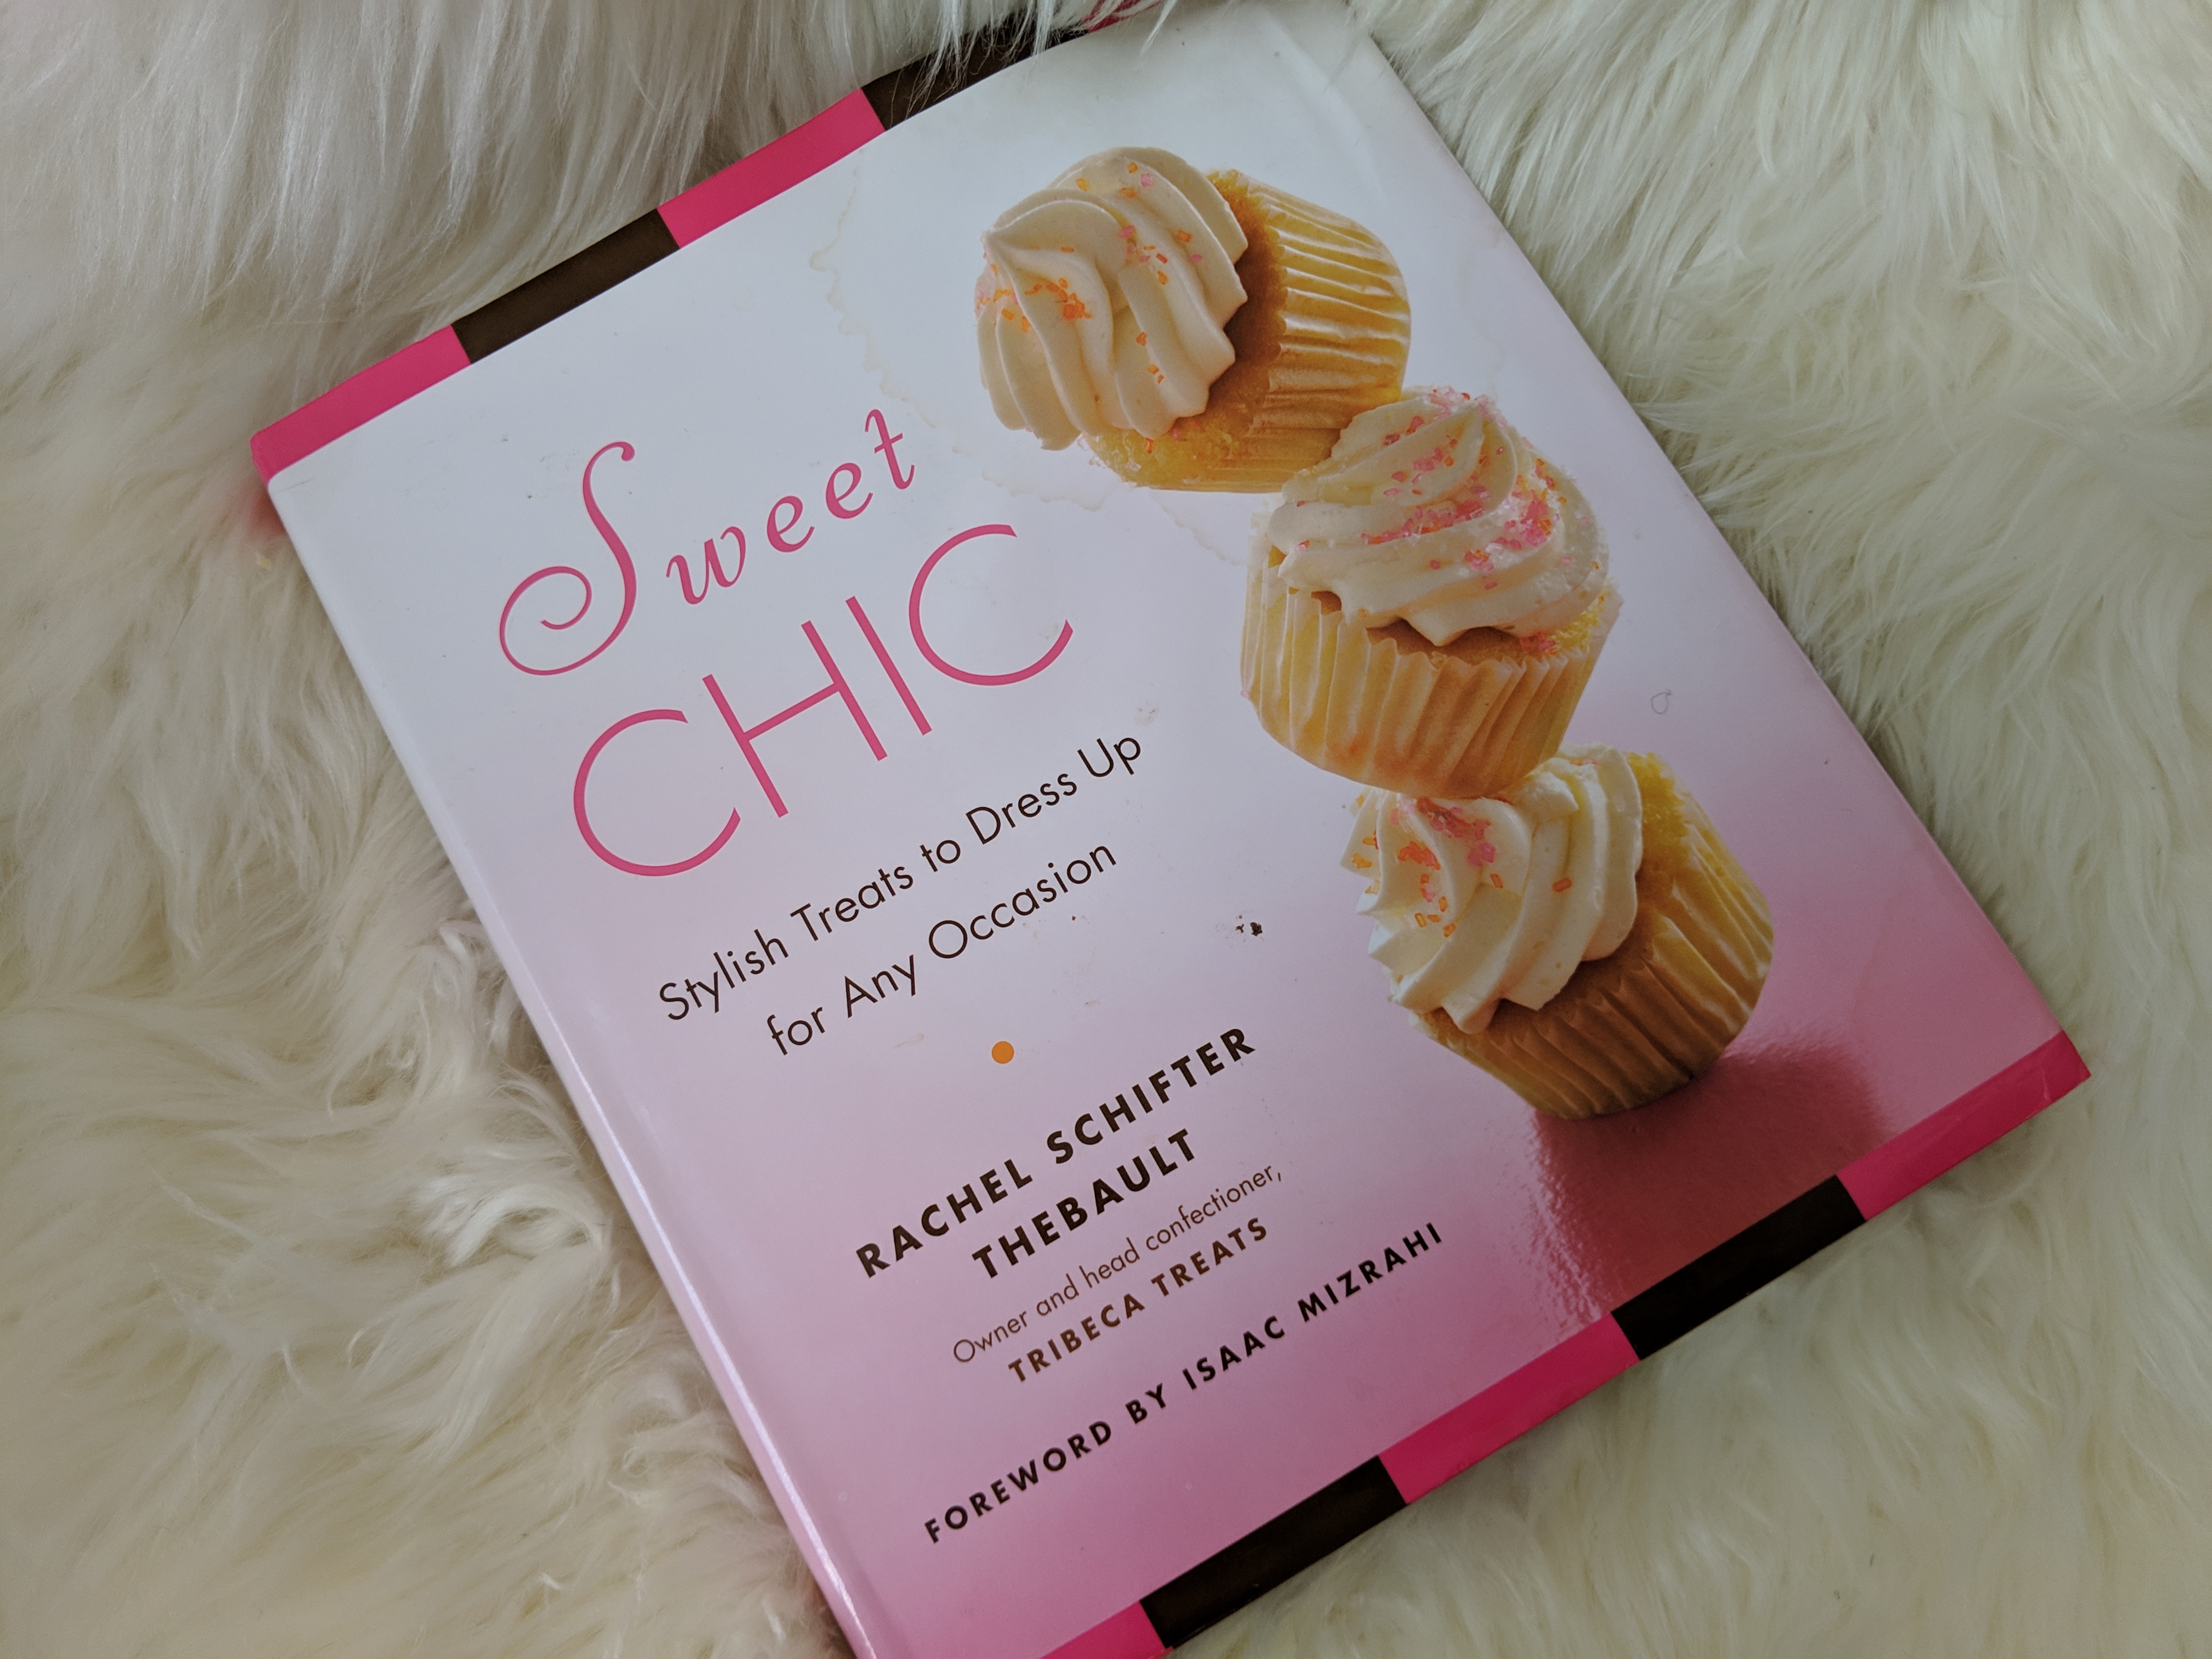
The base recipe for our chocolate cake is the easiest cake recipe I know. It’s an oil-based (as opposed to butter-based) recipe, so just like boxed cake mixes, it can be mixed by hand in one bowl. For that reason, it is a favorite of mine to make at a vacation home or anywhere that I’m not sure about what mixers or baking equipment will be available. Once baked, this batter results in an airy, spongy cake with a rich chocolate flavor. It tends to rise a lot in the oven, especially in the center, so the cake layers will always have to be trimmed to make the layers flat before they are iced. Accordingly, be careful not to overfill the cake pans or cupcake wrappers.
3 cups all-purpose flour
1 cup unsweetened cocoa powder
2-1/2 teaspoons baking soda
½ teaspoon salt
2 cups sugar
2 cups buttermilk
1-1/3 cups vegetable or canola oil
4 large eggs, at room temperature
2 teaspoons pure vanilla extract
1. Preheat the oven to 350* F. Grease three 8-inch round cake pans with butter or nonstick cooking spray and set aside. (Alternatively, you can use two 9-inch round pans or prepare cupcake pans or other pans as directed.)
2. Sift the flour, cocoa powder, baking soda and salt into a mixing bowl and set aside.
3. Whip the sugar, buttermilk, oil, eggs and vanilla in the bowl of a standing mixer with the whisk attachment on medium speed until all the ingredients have blended together, about 30 seconds. (The batter can also be whisked by hand in a large mixing bowl for about 1 minute.)
4. Add approximately half the flour mixture and mix on low speed until combined, about 30 seconds. Repeat with the remaining flour mixture. Remove the bowl from the mixer and scrape down the sides and bottom of the bowl with a rubber spatula to make sure that the flour is fully incorporated.
5. Pour the batter evenly into the prepared pans. The batter should come one-third or one-half the way up the sides of the pans.
6. Bake for 40 to 45 minutes, rotating the pans once halfway through.
7. When the centers of the cakes spring back to the touch, remove the cakes from the oven and allow them to cool for 5 to 10 minutes in their pans. (You can also test for doneness by inserting a toothpick or fork into the center of the cake and checking that it comes out clean.) Run an offset spatula or dull knife between the sides of the cakes and the pans and transfer the cakes right side up to a wire rack to bring them to room temperature.
8. Once the cakes are at room temperature, ice as desired. Uniced cakes can be wrapped in plastic wrap and refrigerated for two days before serving, or frozen for up to two weeks. (Trim the layers flat before freezing them. Once frozen, the layers need to sit at room temperature for only 15 minutes before icing, but allow 2 hours at room temperature for the cake to thaw fully before serving it.)
Chocolate Icing (The Knee-High Boot)
Makes enough for one 3-layer 8-inch cake, one 2-layer 9-inch cake, or about 3 dozen cupcakes
This icing is so rich and delicious that it is popular with our customers even as a “frosting shot” – straight icing eaten with a spoon. Try piping about 2 ounces into shot glasses or espresso cups and serving them (accompanied with demitasse spoons) as an unexpected cocktail party dessert. Or pull out a bowl of the icing on movie night and offer cookies and strawberries for dipping.
 Just as sour cream is much softer than butter, this icing is very soft, so it’s important to be flexible about the amount of sour cream you add; the amount will depend on the heat and humidity where and when you are making it. You’ll add it 1/3 cup at a time at the end of the recipe, so stop adding it if the icing gets to the consistency of warm peanut butter. While not essential, for best results keep cakes and cupcakes iced with Chocolate Icing refrigerated until about 30 minutes before serving them. For a more exotic twist, 2 tablespoons of chili powder can add a smoky heat to the icing.
16 tablespoons (2 sticks) unsalted butter, at room temperature
¾ cup (about 4 ounces) finely chopped dark chocolate
2/3 cup unsweetened cocoa powder
1 tablespoon plus 1 teaspoon pure vanilla extract
4 cups confectioners’ sugar
1-1/3 cup sour cream
1. Heat the butter and chocolate in a bowl over a double boiler. Stir constantly with a rubber spatula or wooden spoon until the butter and chocolate are fully melted and combined.
2. Remove the bowl from the heat and add the cocoa powder and vanilla, whisking until combined.
3. Add half the confectioner’s sugar and continue to whisk. (If the mixture gets too thick to whisk, you can use a spatula or a spoon, but be sure to incorporate all the sugar.)
4. Add half the sour cream and mix with a rubber spatula until combined. Then add the remaining confectioners’ sugar and mix until combined.
5. Begin to add the remaining sour cream, stirring constantly and adding more until you’ve reached a desired consistency for the icing – smooth and spreadable, like peanut butter. (If the climate is hot or humid, not all the sour cream will be necessary.)
6. Let the icing chill in the refrigerator for 20 to 30 minutes before using. The icing can be kept in an airtight container in the fridge for up to 4 days. Stir vigorously for about 2 minutes before using.
Comment:
Medium rectangle #1 (top)

Right column rectangle ads


Mega rectangle

Restaurant guide icon


Shopping Guide icon

